1) Creating Google Earth Placemarks
This is the easy part. As a wild example, say you want to put Placemarks at the North, Middle and South end of Danes Dyke, near Flamborough Head in Yorkshire: click on the yellow Add Placemark icon near the top of the screen.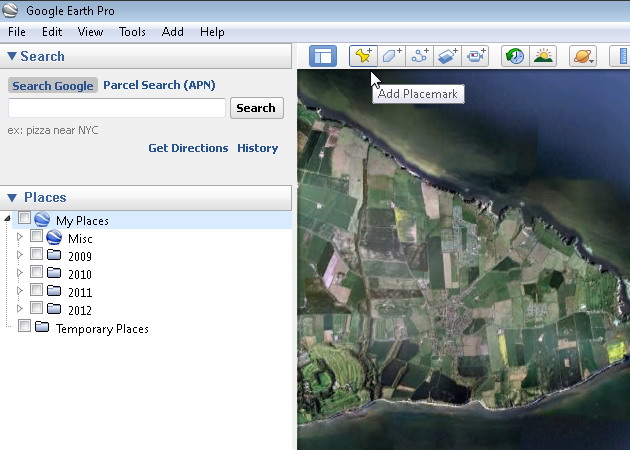
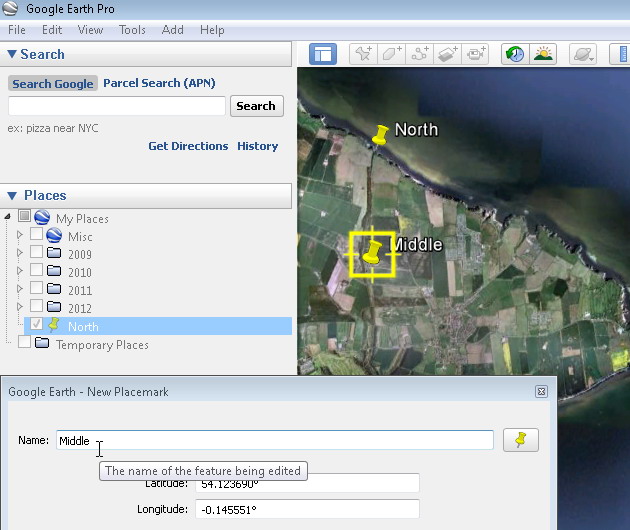
A yellow icon will be placed in the centre of the map, which can then be dragged to any location. A New Placemark dialog box will also be opened, which you can use to change the name and properties of the marker, including type and colour, by clicking on the icon at the end of the Name field. Note also that you can zoom right into the Google view and locate the Placemark very accurately, using the aerial photography as your reference. Here we are locating the second Placemark.
2) Grouping Placemarks into Folders
Now you have three Placemarks and you want to group them together.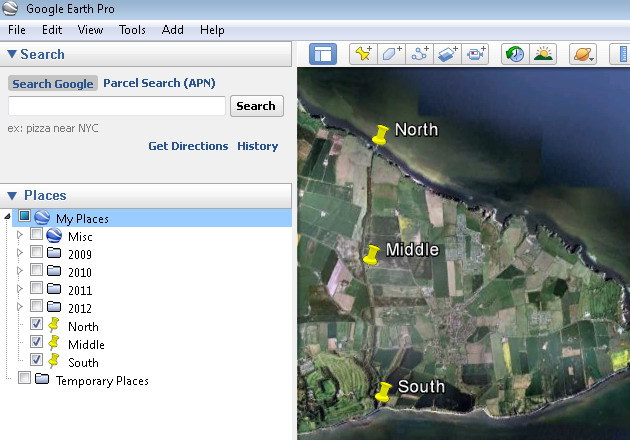
Right-click on the My Places folder and select Add > Folder from the context menu.
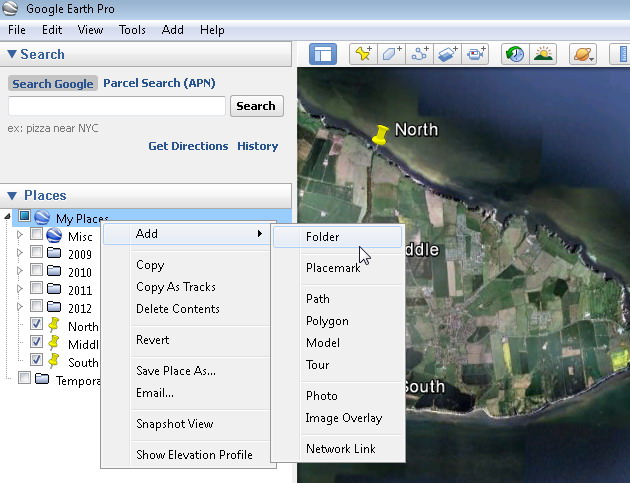
Give the folder a sensible name, in this case ‘Danes Dyke’. It should appear below your recently-created Placemarks.
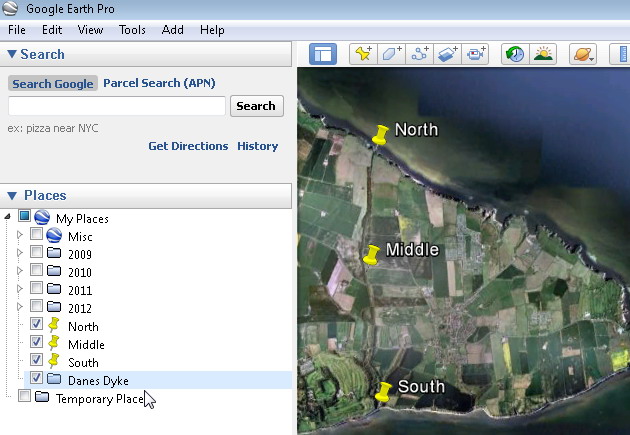
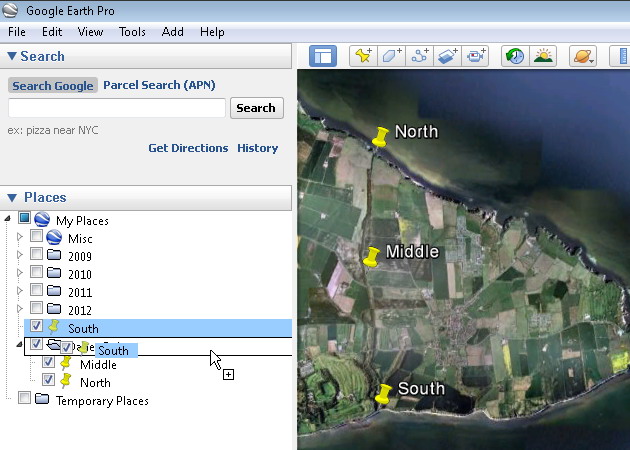
Now you can drag the Placemarks, one at a time, into the new folder.
3) Save the Folder
Once in the folder , you can change the Placemarks’ order, edit their Properties as a group, and most importantly, Save the group of Placemarks as a single KMZ file. Right-click on the folder and ‘Save Place As...’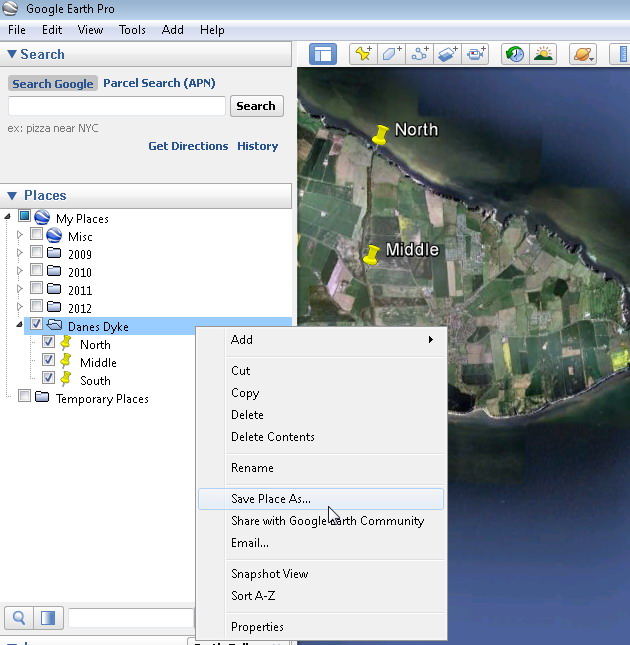
The Save dialog will use the folder name you created, to set up the KMZ filename – in this case, ‘Danes Dyke.kmz’.
Once you have saved the file somewhere easy to find (for example, a project folder or your desktop), you can then copy it to a USB drive, email it, or just store it for future reference.
4) Other options
Other useful tools, shown in the menu above, include: Rename, Email (sends the KMZ directly to your installed email client), Sort A-Z and Properties, as already mentioned.The Snapshot View option is very useful. If you zoom in to some specific location, or look at the Earth from an angle, rather than straight down like a map, you can then right-click on a folder and click Snapshot View. The location and angle of the camera will then be saved within that folder/object. Next time you double-click on the folder, the camera will swing to the location you selected.
5) Issue the KMZ file
If you now send your saved KMZ file to someone else who has Google Earth installed, they will be able to double-click on the KMZ and it will load into their ‘Temporary Places’ list, with all the locations, properties and camera angles you set before you saved the file. They can drag it into their ‘My Places’ list if they want to.So, in conclusion, this is a great way to locate points anywhere on the Earth, organise them and send them to colleagues.
Please be aware that you cannot publish images from the free version of Google Earth, but you can use it to review information.
UPDATE 2018!
Luckily, since this blog was originally posted, Google have introduced a free ‘Pro’ version! Check out the Google Earth website https://www.google.co.uk/earth/download/gep/agree.html